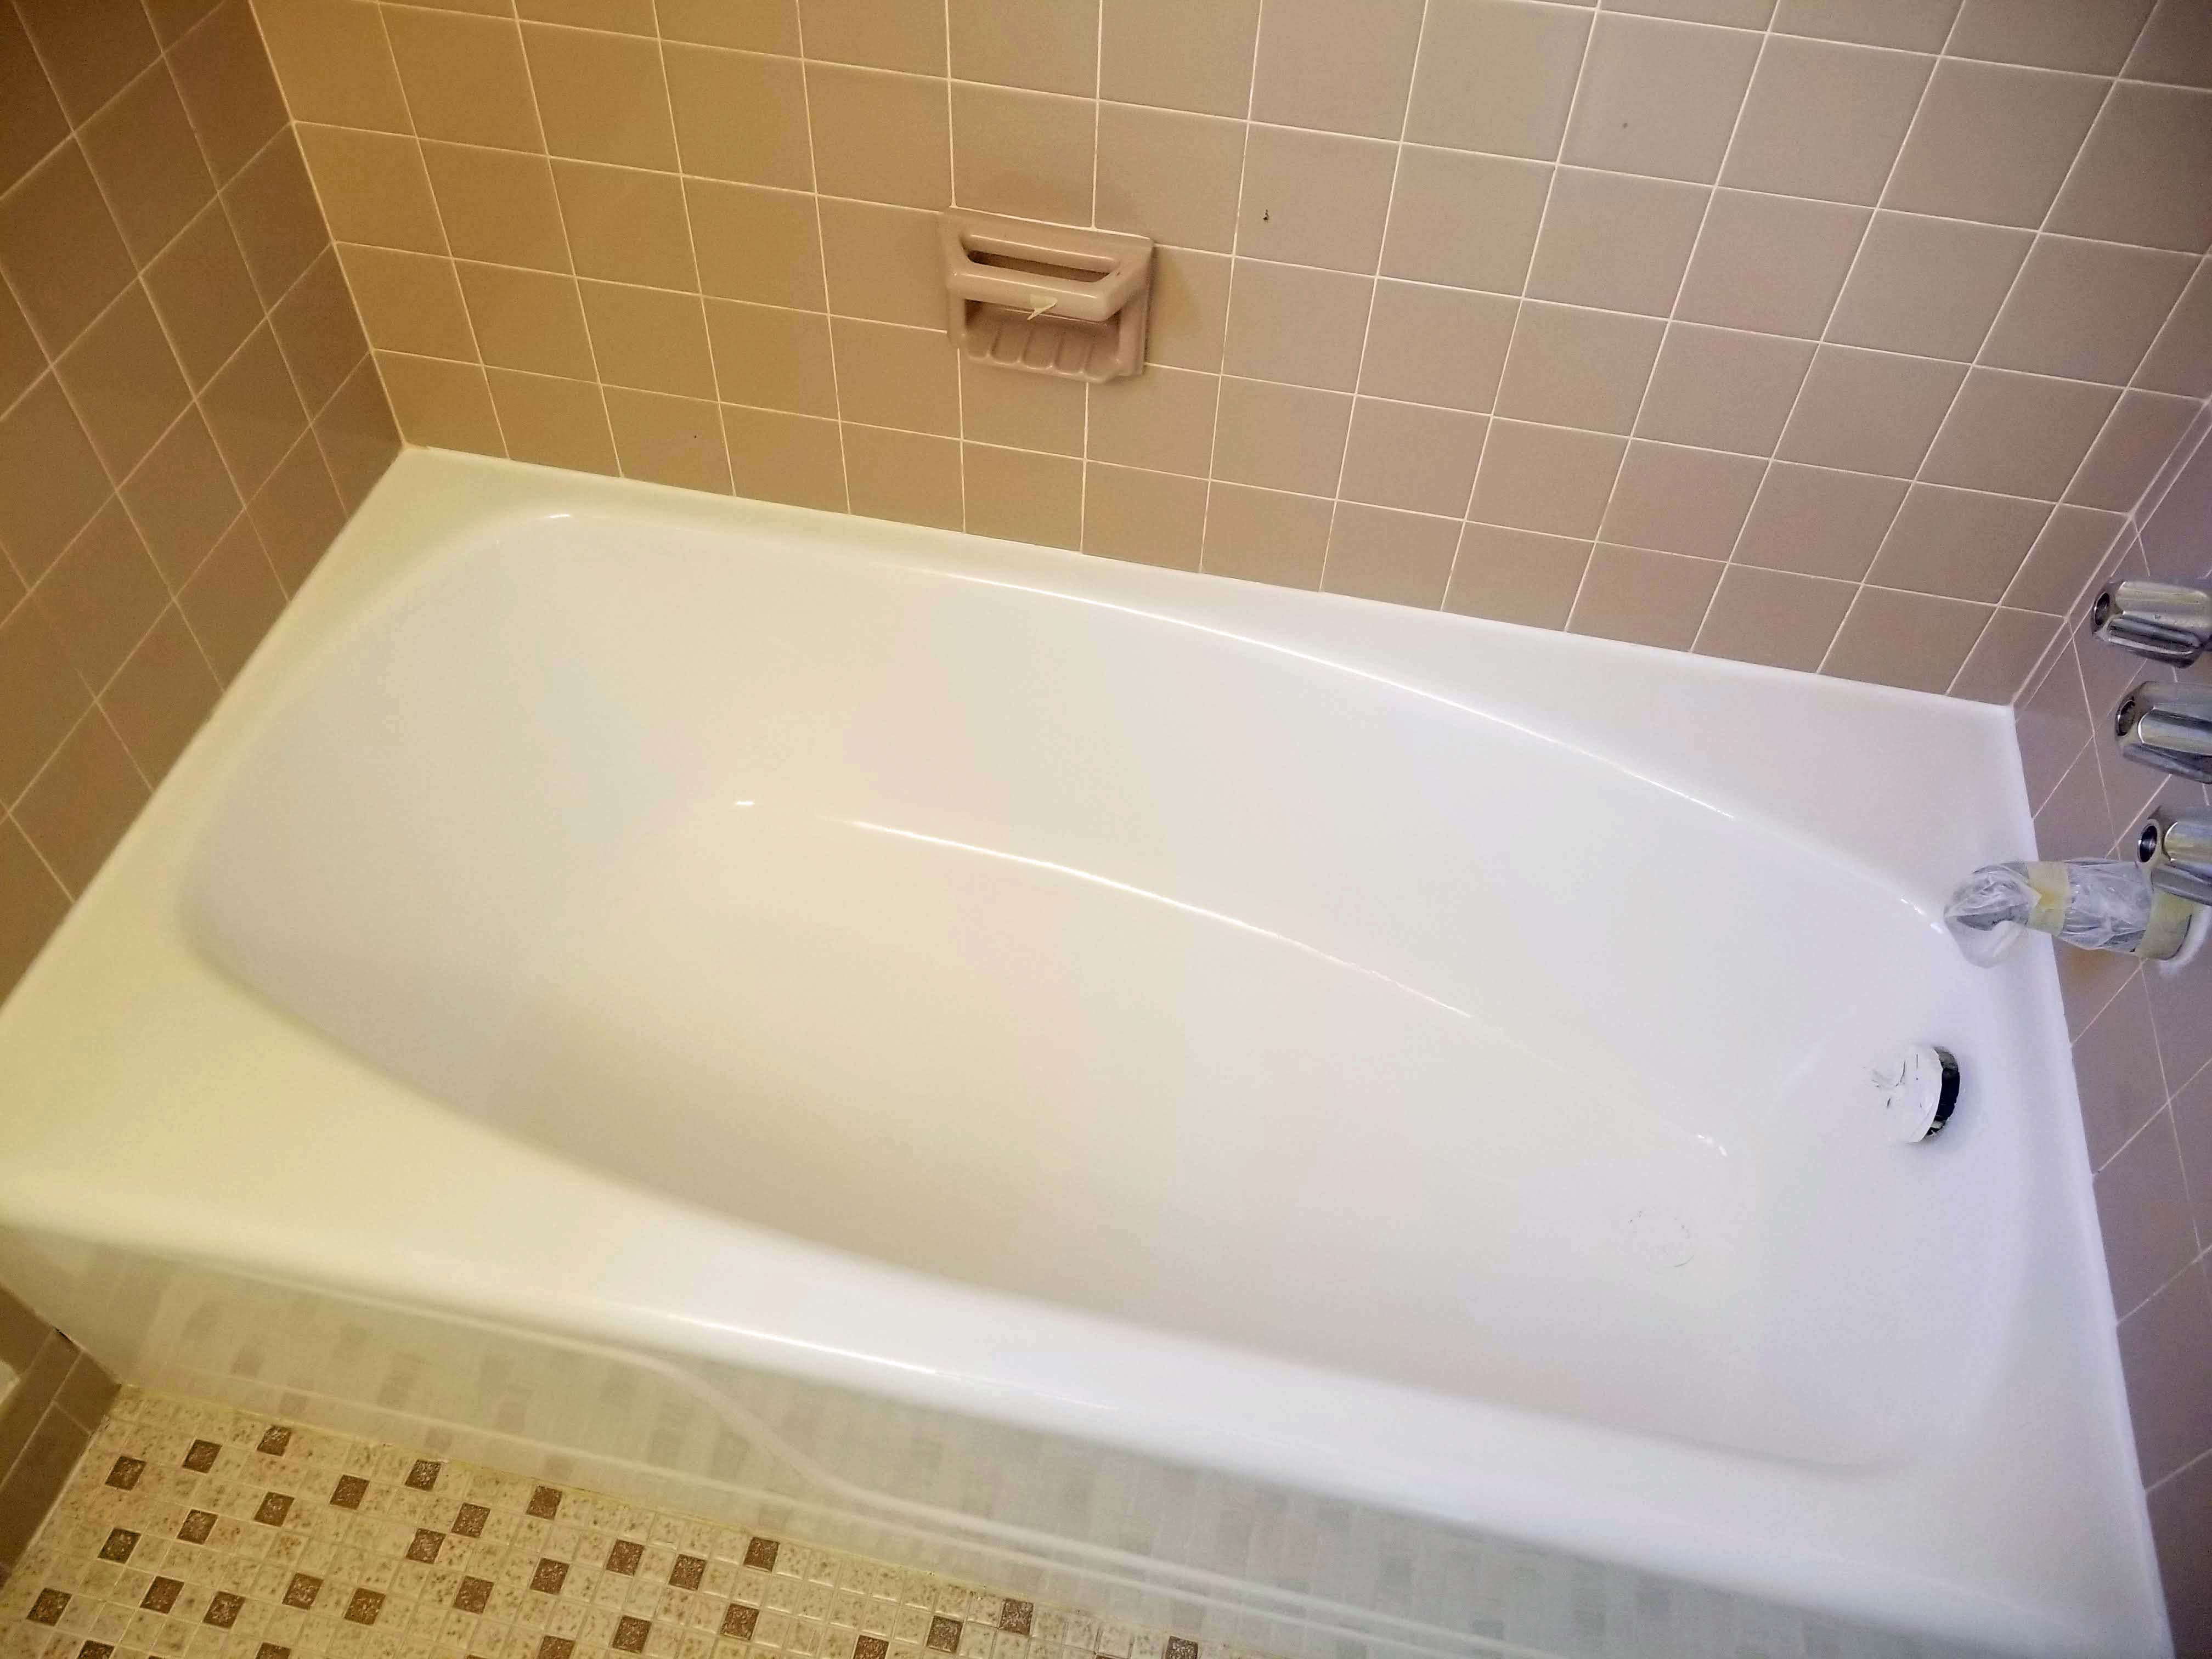
Here is a quick rundown of the 10 steps for a quality tub refinishing job. Paint removal and shower doors are additional steps not included here.
1.- PROTECTION
Upon entering the property Cover carpets and hallways with a drop cloth, paper, or plastic.
Cover floor tile with 4 mil. plastic and tape
Cover walls, vanity, and mirror with 1 mil. painter’s plastic
2.- VENTILATION
Set up exhaust ventilation; either use the bathroom window (if to the side of the tub) or connect to vent hoses and run to the nearest window.
3. SILICONE AND CAULK REMOVAL
Using a heavy-duty scraper, remove all silicone and acrylic caulk. Use a heat gun if necessary to soften the caulk; it will remove all traces of the caulk.
4.- CLEANING
Scrape the tub surface with razor blade scrapers (2″ and 4″), remove most dark deposits, and vacuum. Wash the tub with a soap remover and a green heavy-duty scrubber pad, remove all leftover deposits, and rinse with plenty of water. Remove excess water.
5.- ACID ETCH
With the respirator on, apply an acid etch with a 4″ paint brush covering all tub areas, beginning with the top. Work your way to the sides, then the bottom and the outside, being careful not to drip acid on the floor. Allow 15 minutes before rinsing with hot water. Rinse several times to remove all residue, using a scrubber pad to make sure no residue remains on the tub surface.
6. SURFACE REPAIRS
If rust is present, treat with a rust inhibitor, allow to dry, fill chips, cracks, and damaged areas with a fiberglass body filler, allow to dry and sand smooth.
7.- MASKING
Completely mask and cover surfaces with masking paper and tape. Attach 1 bag to the shower head and the tub spout using sandwich bags and tape. Remove all loose materials, sandpaper, and vacuum area completely.
8.- PRIMER
Mix primer and spray one full coat; allow to dry for 15–30 minutes
9.- TOPCOAT
Mix the topcoat, reduce accordingly, and carefully tack down the primed surface with a tack cloth using a flashlight to inspect the area thoroughly. Spray 2-3 coats, allowing 3-5 minutes between coats.
10. CLEAN-UP AND CAULKING
Remove all tape, paper, and plastic and dispose of them in a trash bag. Apply GE silicone caulking to all three sides.
Leave a Reply
You must be logged in to post a comment.